How to Make Reusable Food Wrappers (2023)
I am experimenting. Since I discovered the reusable packaging of Abeego and Bees’ wrap months ago, the idea of making this fabric waxed by myself was around my head. The product in question consists of a cotton cloth impregnated with beeswax, jojoba oil and tree resin.
With the warmth of your hands, the fabric becomes malleable, allowing you to wrap and preserve food such as cheeses, sandwiches or vegetables. After using it, you only need to wash it by hand and in cold water.
The objective? Reduce the amount of waste – especially plastic and aluminum foil – and save some money. Great idea, right? Well ale, here is a “tutorial” on how to make reusable food packaging. Although warning, they are still in the testing period.
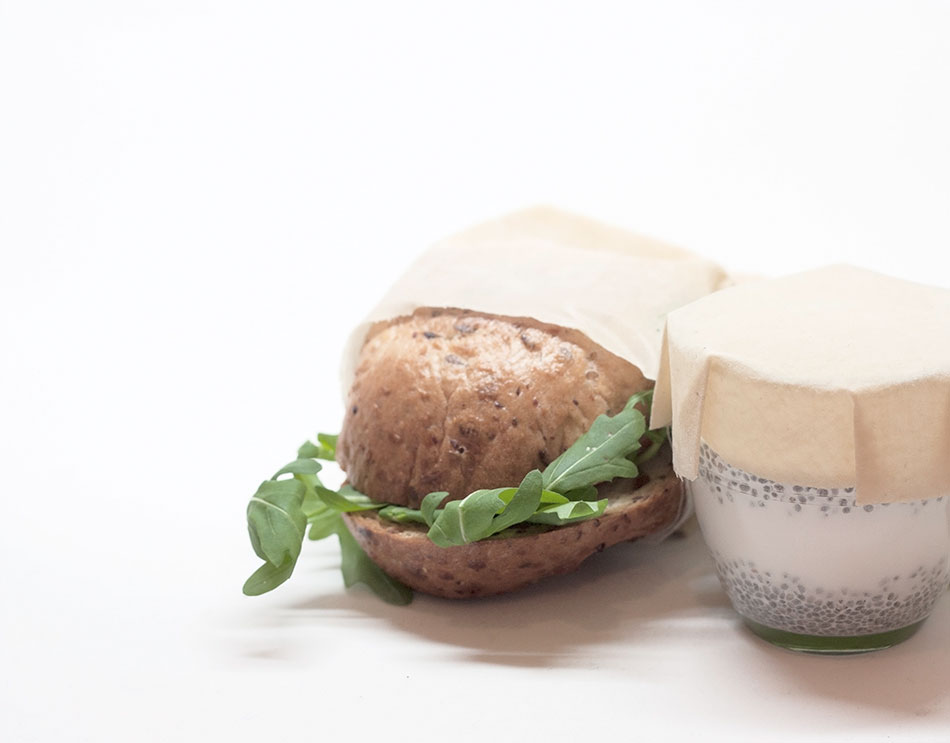
Image: Organicus
First of all, the ingredients . As I mentioned earlier, there are three main components: beeswax, jojoba oil – which is actually a liquid wax – and tree resin. Handling resin at home does not seem like a great idea to me, so I have discarded it from the list. In addition, I have read comments criticizing the strong smell that it leaves in food, so sacrificing some of the manageability of the product, I decided to do without it.
Later, I realized that the vast majority of people who had tried to make these homemade wrappers dispensed with jojoba oil and only used beeswax.to waterproof the fabric, so I also ventured to do a first experiment, tested only with this ingredient (if you are vegan you can substitute candelilla wax ).
Step by Step
* Choose a 100% cotton fabric, as thin as possible (type sheet or muslin). In my case I have reused an old pillowcase.
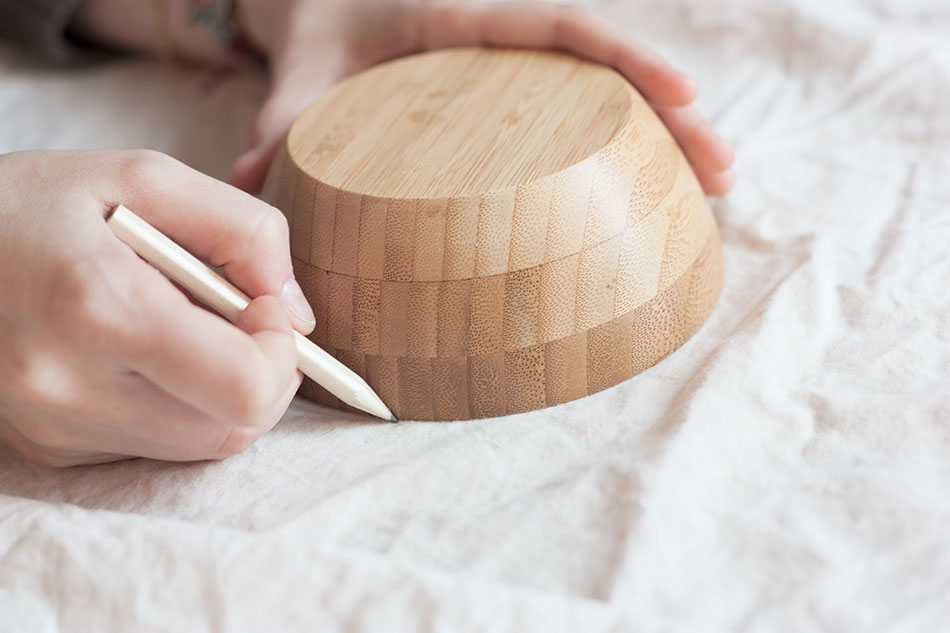
Image: Organicus
* Cut it according to the size of the wrappers you want to make. In my case I have cut two rectangles of 25X18 cm and three circumferences of 15 cm. Ideally, use zigzag scissors to prevent the rags from fraying. I have put the direct and I have dispensed with the “fine details”.
* Grate the beeswax blocks . The amount will depend on the fabric you are going to wax.
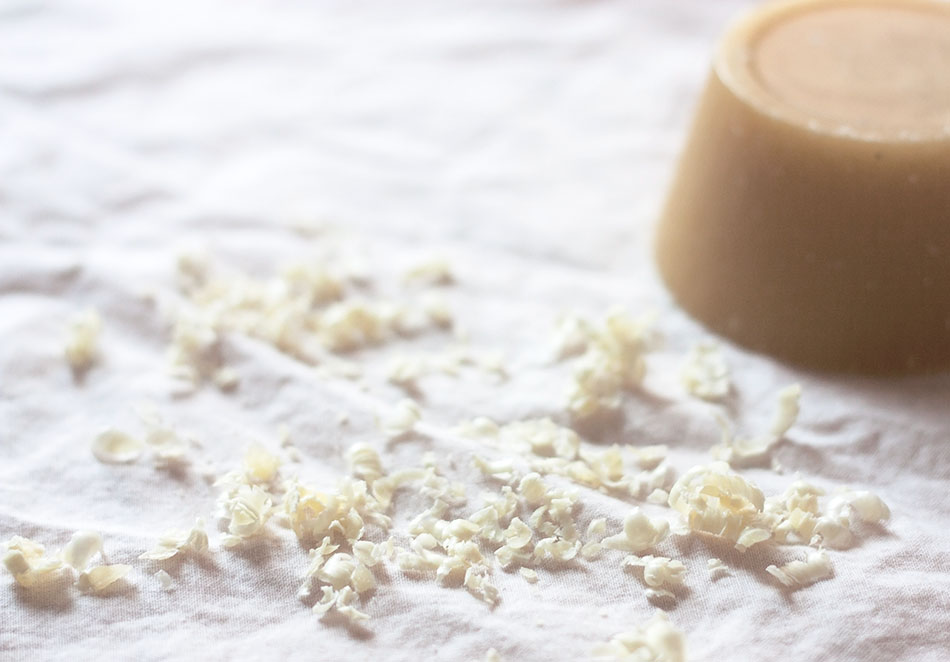
Image: Organicus
* Sandwich moment. On the ironing board, place in this order: newspaper, baking paper, the cotton fabric, the wax shavings covering the entire surface and again, baking paper .
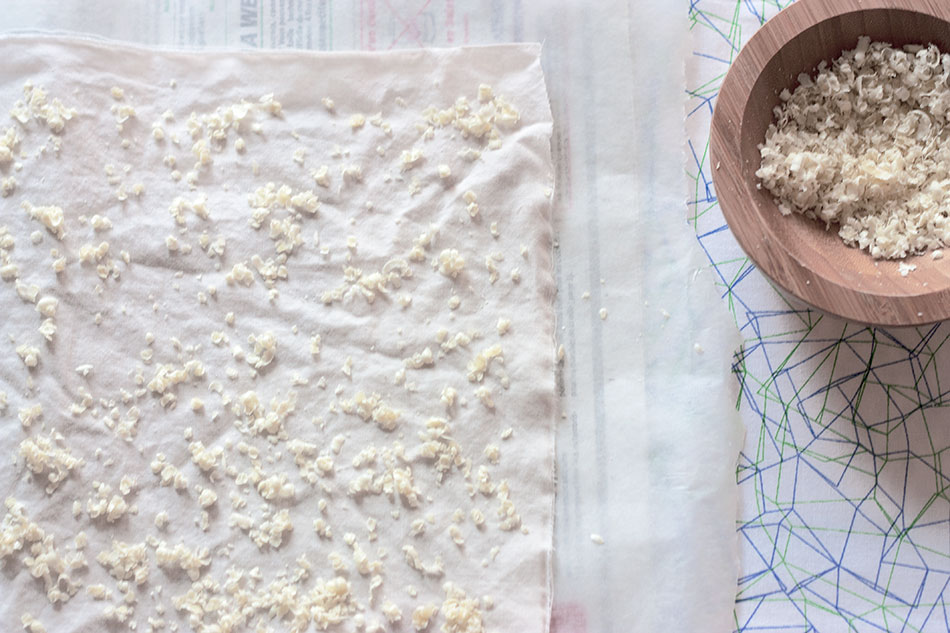
Image: Organicus
* With the hot iron , apply pressure to the sandwich, tapping to prevent the paper from shifting. You will see that the wax melts, impregnating and spreading through the fabric.
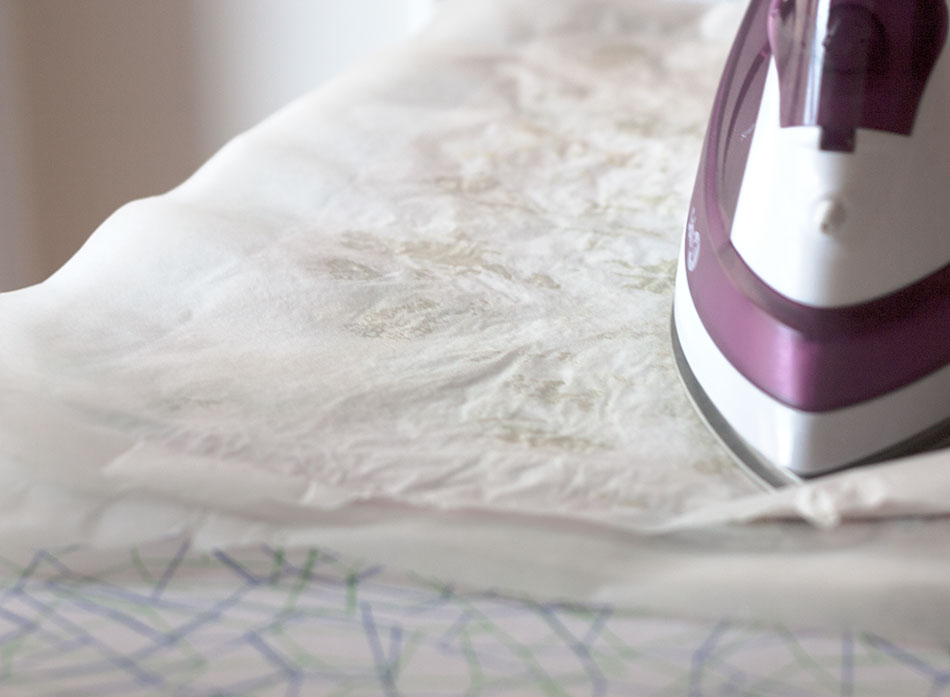
Image: Organicus
* Lift the parchment paper between the melted chips and the griddle. You will see that the waxed pieces have taken a darker tone. If you see white holes, throw chips over these and repeat the ironing . You must ensure that the color of the cloth is homogeneous.
* Once ready, tends quickly the fabric (Take it without burning) and let it heal within 24hour home.
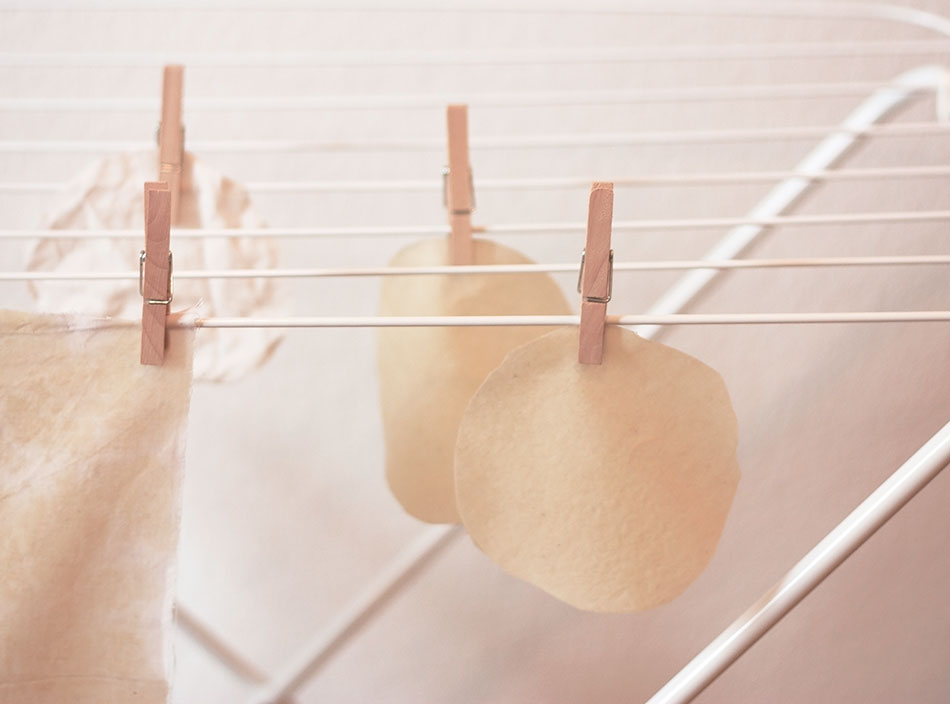
Image: Organicus. Observe the difference in color between the waxed (front) and the unwaxed (back). You will also see that in the first cloth on the left there are still holes without wax, the color is not uniform
* Remove excess wax with a brush and voila!
You will see that the fabric is stiff. You just have to give it a little heat with your hands, mold it to your liking and wrap whatever you want.
Now, it seems to me that using only wax the fabric can crack with changes in temperature. I think jojoba oil is necessary. In addition, many people comment that after a few washes it is necessary to re-wax the cloth. Therefore, the most practical thing would be to have a pill to be able to smear the clothes whenever it was necessary; like this one I was teaching you here to waterproof clothes .
I have been researching the proportions of jojoba and wax necessary to make this lozenge. I have been doing tests and as soon as I have the result I will write a post comparing both methods. Stay tuned. Now for now, wax cloths work????
| Update :
I tried to make a lozenge with different amounts of wax and jojoba oil, but the result did not convince me. I think that although it is more tedious, there is no other option than to melt the wax and the jojoba together and spread the fabric with the mixture. Nitdia came up with adequate proportions for this, using 60% wax, 30% jojoba oil and 10% damar gum. You can see his tutorial here .
|


